SD-WAN II - Controllers Initial Config
To continue with the SD-WAN lab started here, I changed a bit the topology. Considering how things should end up being, I adusted addressing, networks and logical distribution of some components. Below the new picture.
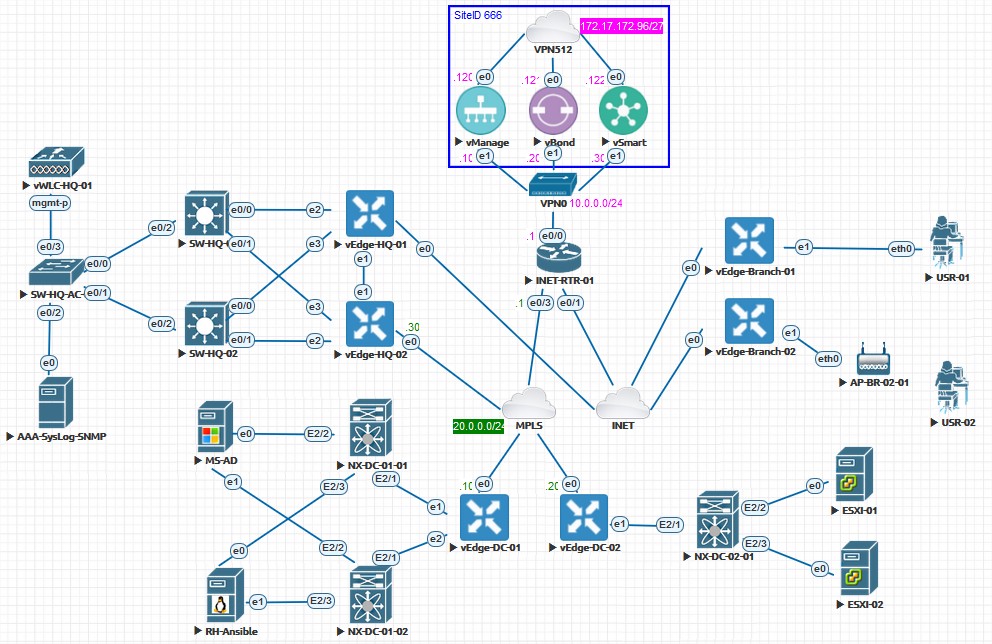
As we can see, I will have VPN512 connected straight to my home network, so I can access all the three vManage, vBond and vSmart at once from my laptop. That will ease for sure the initial configuration and will give the entire lab a management control network.
Also note that due to some QEMU restrictions I still didn’t discover how to address, interface e1 depicted for vBond node, is translated to Ge0/0 in the appliance. So note the picture is a slightly different to what we really have.
vManage network configuration
According to the scheme shown I will start giving the vManage node an initial network configuration, and test I can communicate with this node and also open up its web GUI.
Side note here. Don’t forget to add the requested additional storage to this appliance at first-boot time. Otherwise it won’t work.
Let’s fire up this node and see what we get into:
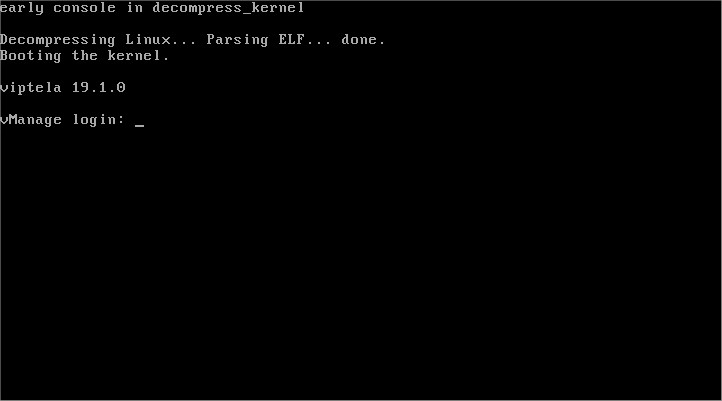
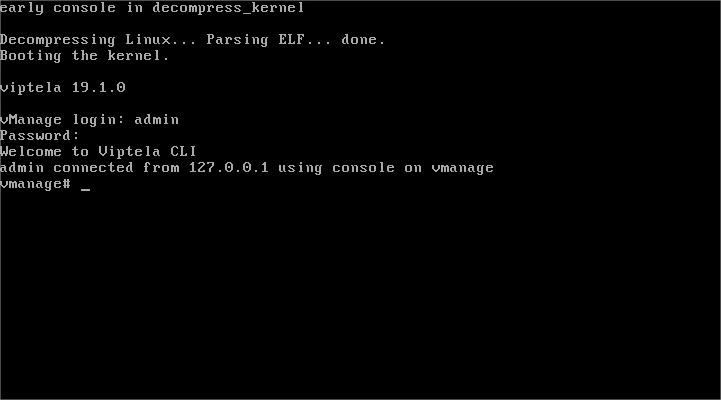
Default username and password should be admin/admin , so here we go:
Let’s start configuring the system basics and also the networking. Applying the following template will give us the needed in this phase:
conf t
 system
 host-name vManage
 system-ip 1.1.1.1
 admin-tech-on-failure
 organization-name "sdwan lab"
 clock timezone Atlantic/Canary
 vbond 10.0.0.20
 exit
 vpn 0
 no int eth0
 int eth1
 ip add 10.0.0.10/24
 no shut
 ip route 0.0.0.0/0 10.0.0.1
 exit
 vpn 512
 no int eth1
 int eth0
 ip add 172.17.172.120/27
 no shut
 ip route 0.0.0.0/0 172.17.172.97
 exit
 exit
Honestly, I was expecting to have to type wr mem or something similar, not the case. The system detected there are uncommitted changes that we have to apply for them to take effect. So let’s commit, if something is not ok with our configuration it will warn us. Otherwise:
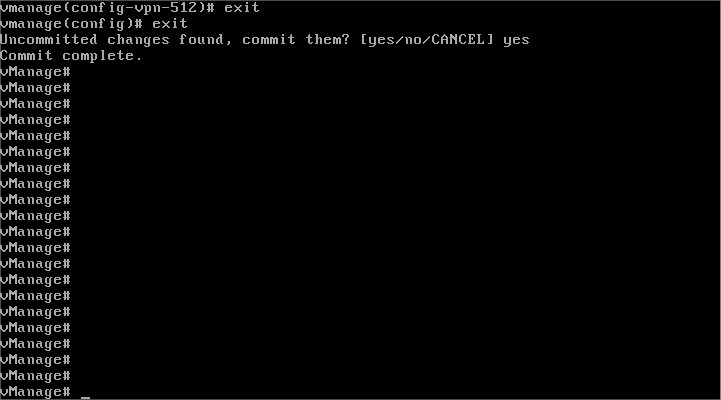
Now we should have access through the VPN512 security zone to our vManage node:
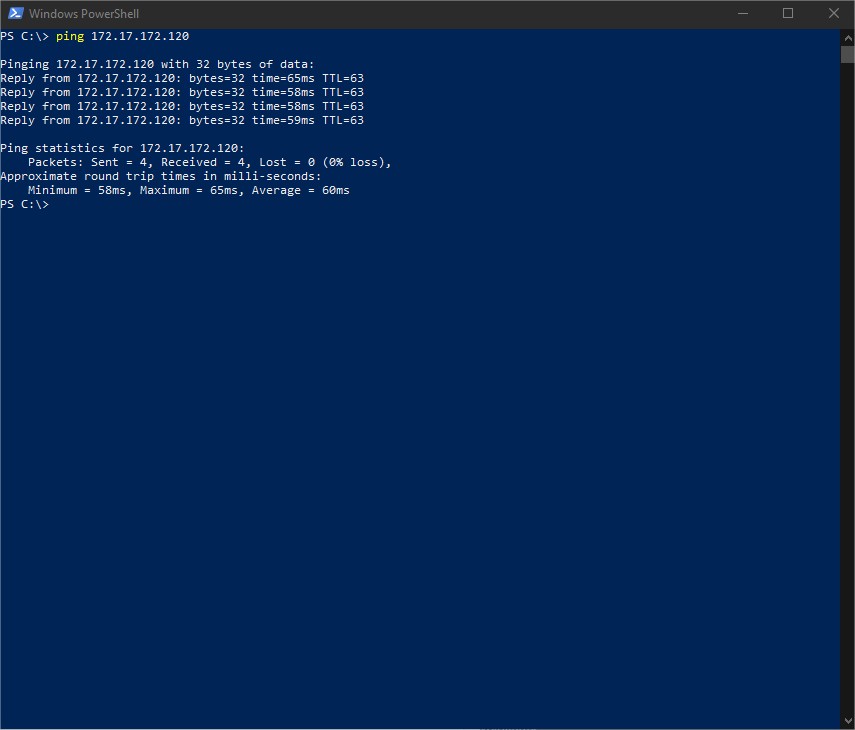
It responds to ping. Let’s see the web interface:
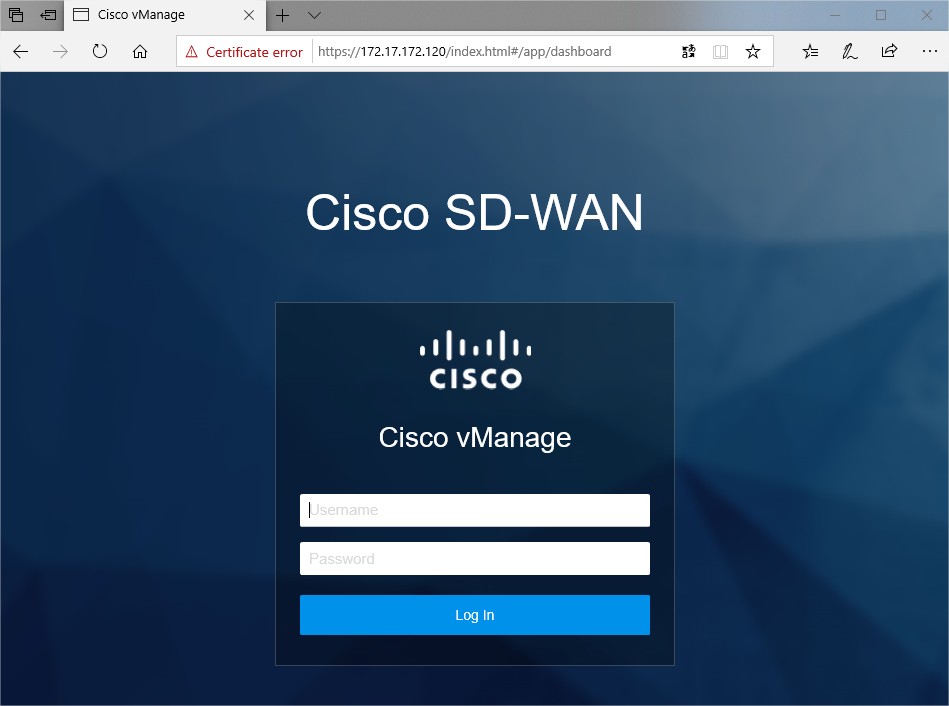
Except the obvious self-signed certificate -will fix that later, looking good right?
vBond network configuration
Time to hit vBond appliance. Fire it up, apply config and test connectivity:
conf t
 system
 host-name vBond
 system-ip 2.2.2.2
 organization-name "sdwan lab"
 clock timezone Atlantic/Canary
 vbond 10.0.0.20 local vbond-only
 exit
 vpn 0
 int ge0/0
 ip add 10.0.0.20/24
 no tunnel-interface
 no shut
 ip route 0.0.0.0/0 10.0.0.1
 exit
 vpn 512
 no int eth1
 int eth0
 ip add 172.17.172.121/27
 no shut
 ip route 0.0.0.0/0 172.17.172.97
 exit
 exit

Another one looking good so far. Reaching the last controller node.
vSmart network configuration
Same old, we will use the following commands or template, needles to say, adapt values as per your own requirements.
conf t
 system
 host-name vSmart
 system-ip 3.3.3.3
 organization-name "sdwan lab"
 clock timezone Atlantic/Canary
 vbond 10.0.0.20 local vbond-only
 exit
 vpn 0
 int ge0/0
 ip add 10.0.0.30/24
 no tunnel-interface
 no shut
 ip route 0.0.0.0/0 10.0.0.1
 exit
 vpn 512
 no int eth1
 int eth0
 ip add 172.17.172.122/27
 no shut
 ip route 0.0.0.0/0 172.17.172.97
 exit
 exit
Again, can we reach this last one?
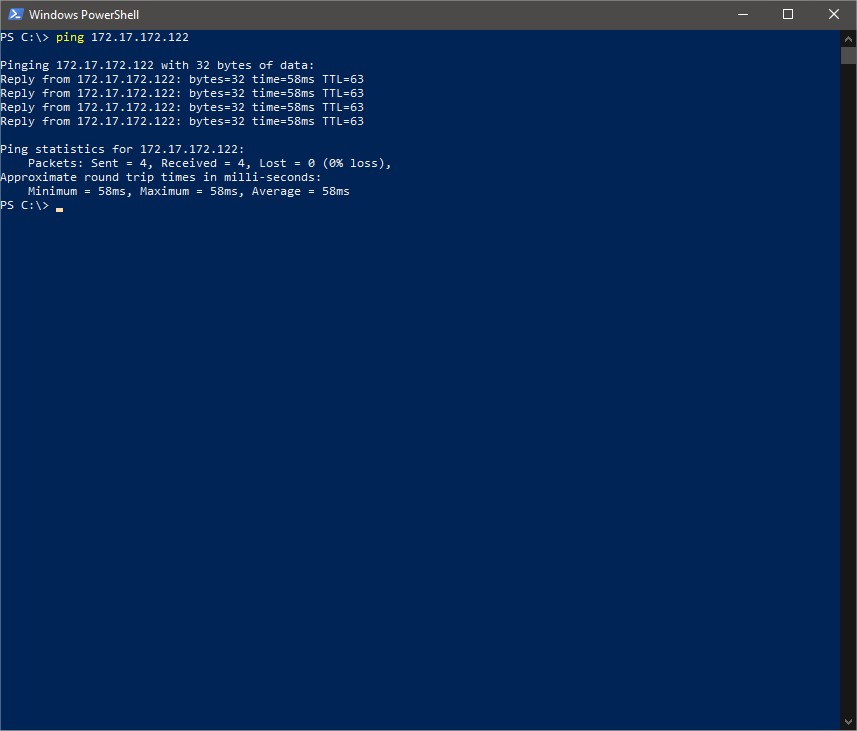
Sweet :-)
Some more checks
Let’s first check we can reach these guys from the VPN0 facing interfaces:
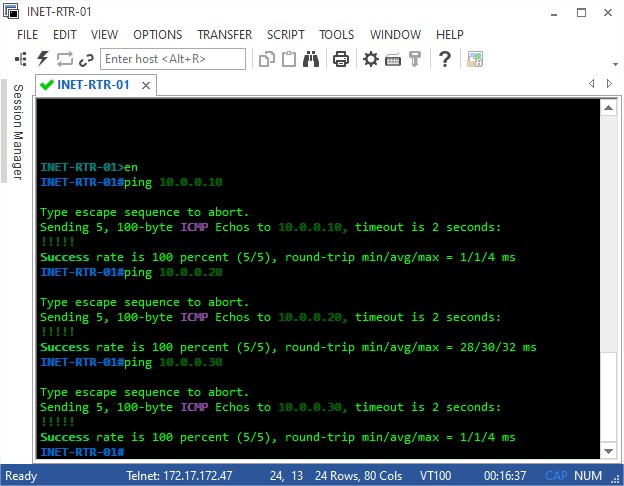
You may be wondering who is 172.17.172.47. Well for those of you didn’t figure it out yet, that’s the EVE-NG node that runs all the lab.
Let’s double check our configs so vBond IP address, system-id and organization-name are correctly set up and matching in all the three nodes, and also let’s make sure system-ip is unique. We’ll go with show control local-properties:
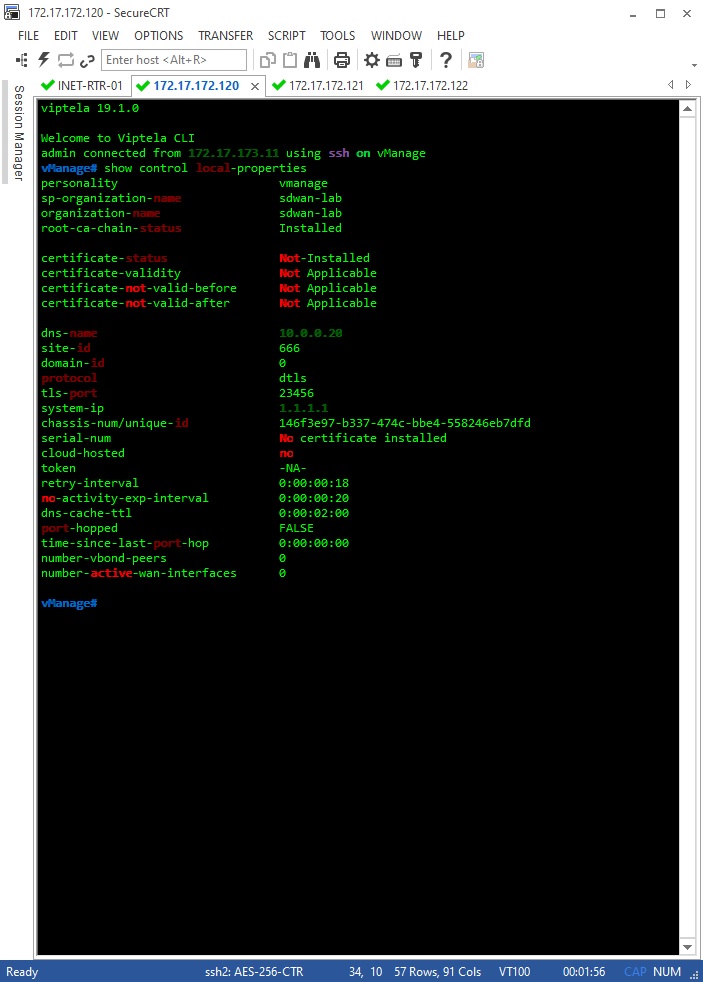
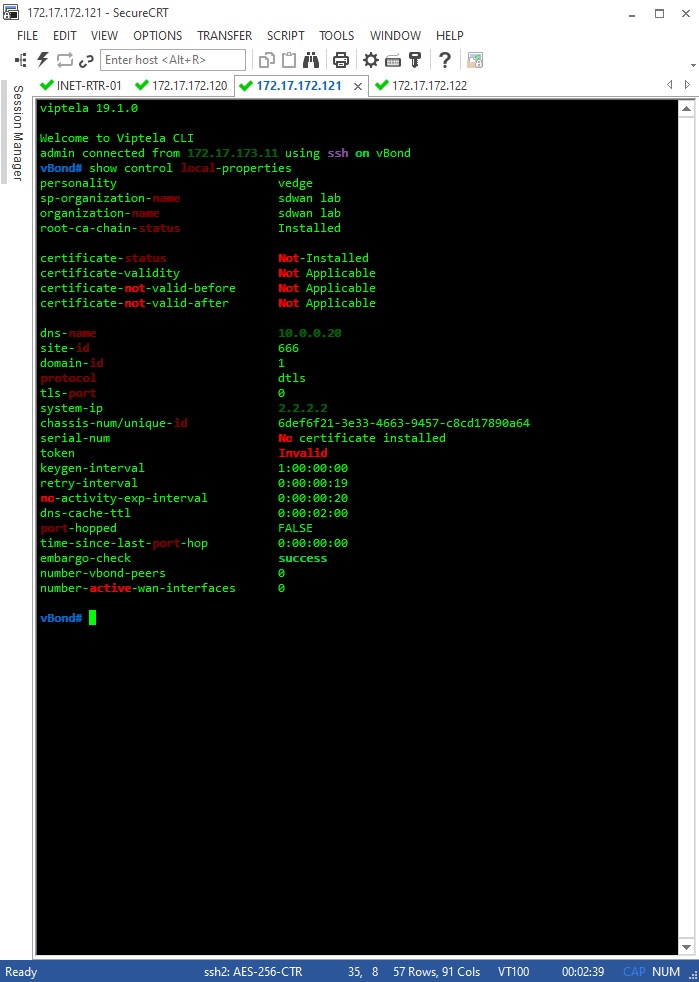
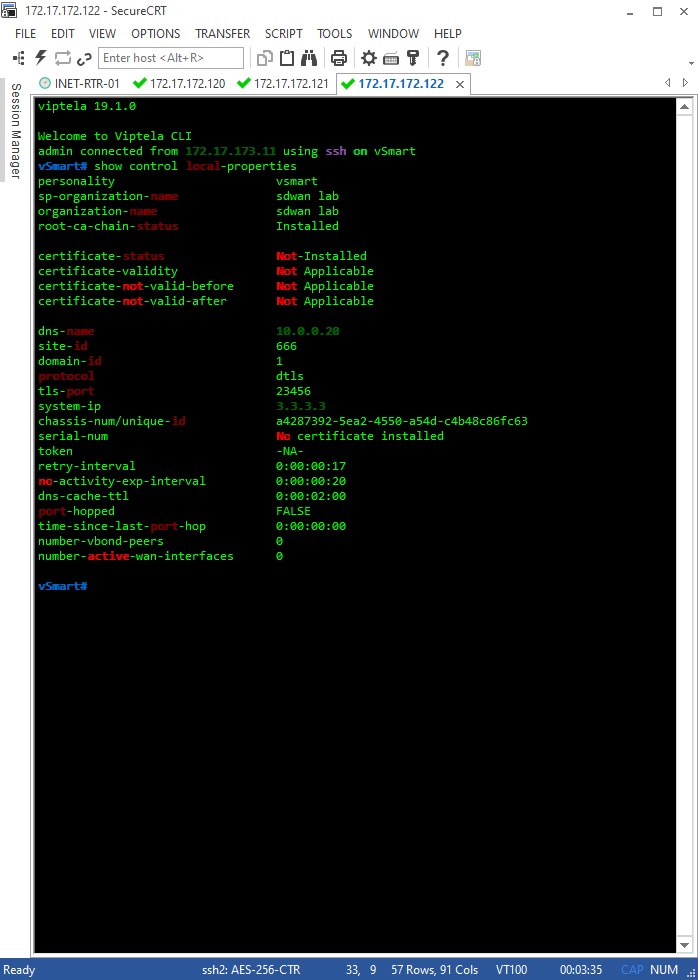
That’s all for now. In the next posts of this series we will be onboarding the nodes by requesting, issuing and installing certificates on them.