Palo Alto NGN Firewalls - Initial WebUI Configuration
As many other vendors do, Palo Alto NGN Firewalls can be configured either using CLI or via WebUI. And for the very first hardware installation you can choose either using the embedded out-of-band or a Serial Console port just like Cisco. Consider this port exactly like a Cisco console port, it defaults to 9600-N-1 and you will need a standard rollover cable to get signaling in. The out-of-band is labeled MGMT and is the recommended one to keep as management interface for the device.
We will continue this post assuming and using the MGMT port, which we already told is the recommended one. Besides, PA NGN use this port to connect to Palo Alto Cloud and retrieve license information, signature and threat updates and so on. This means the MGMT port has to have proper DNS settings configured and it has to be able to reach Internet.
The first time we connect to it, using a straight-through RJ45 cable it will allow us to get into the WebUI using the defaults we see below:
MGMT IP address: 192.168.1.1/24
Username: admin
Password: admin
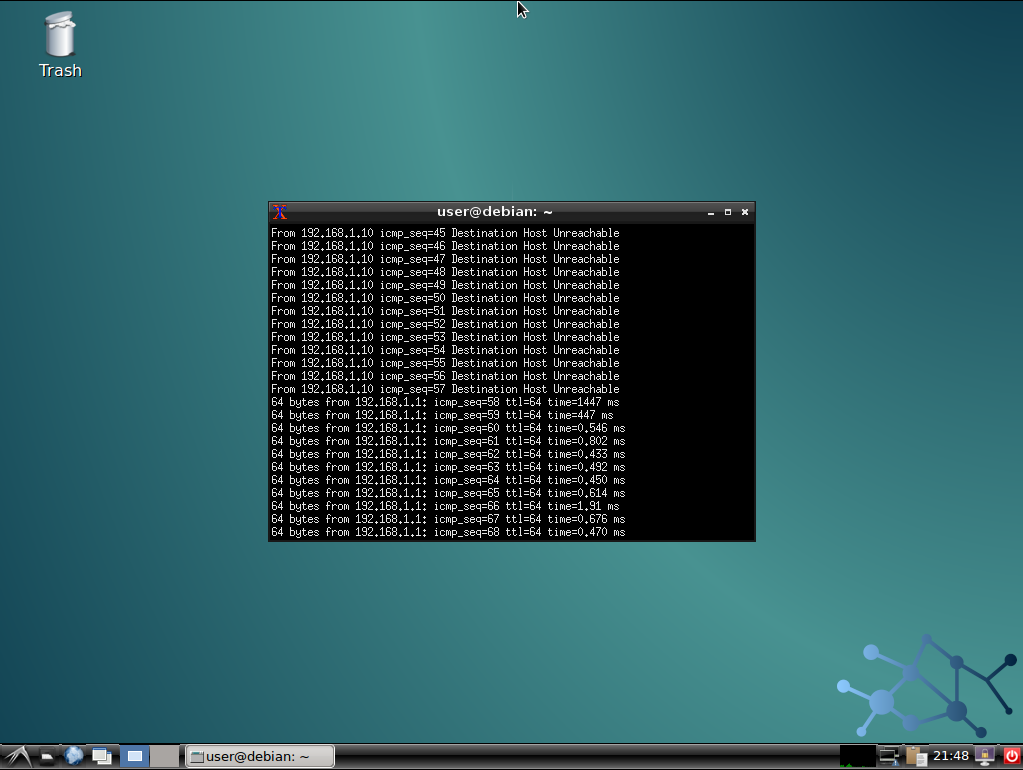
Once we configured the computer in the same address range and connect it to the firewall, we check connectivity works good:
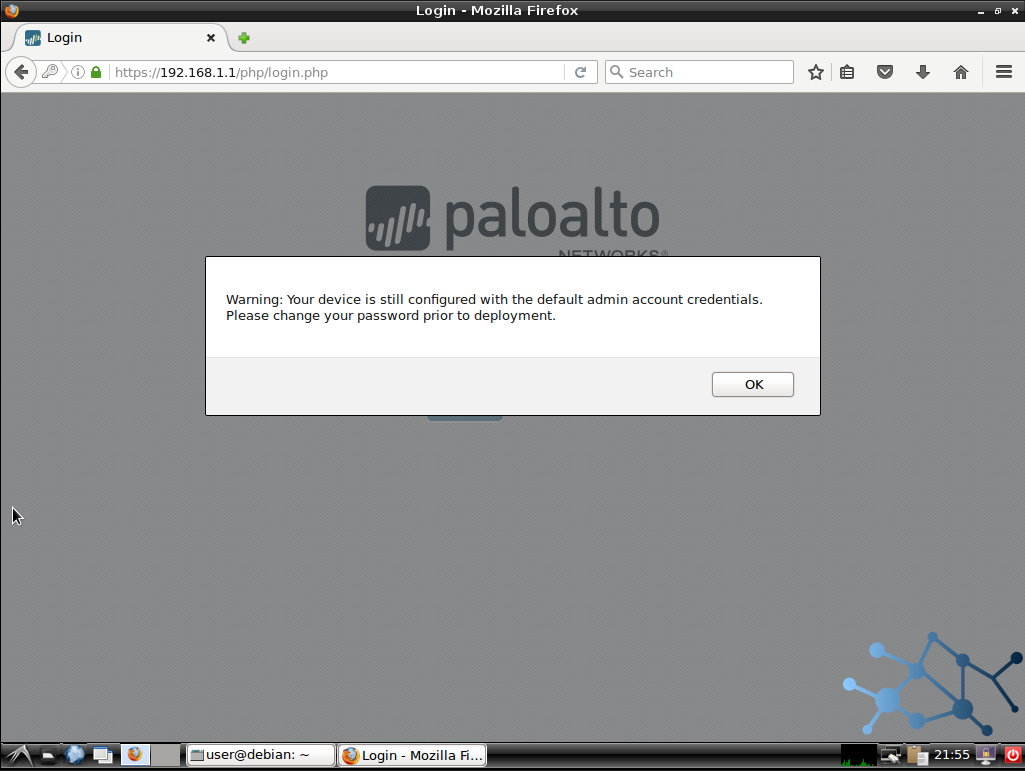
And we fire up our browser pointing to the firewall’s address to get into the WebUI.
We will of course be informed via pop-up that the defaults are not secure and we will be encouraged to change these before the device goes live into a production network.
This screenshot shows the message:
Initial Setup
This is the list of recommended things to configure or change as part of the initial setup in our PA NGN.
- Modify default authentication credentials
- Configure a valid MGMT IP address, gateway, DNS and management services, such as HTTPS, SSH, ICMP…
- Configure NTP settings
- Register the device and Activate in the Palo Alto Cloud
Modify default authentication credentials
Once we login in the WebUI we have to go to Device > Administrators > admin
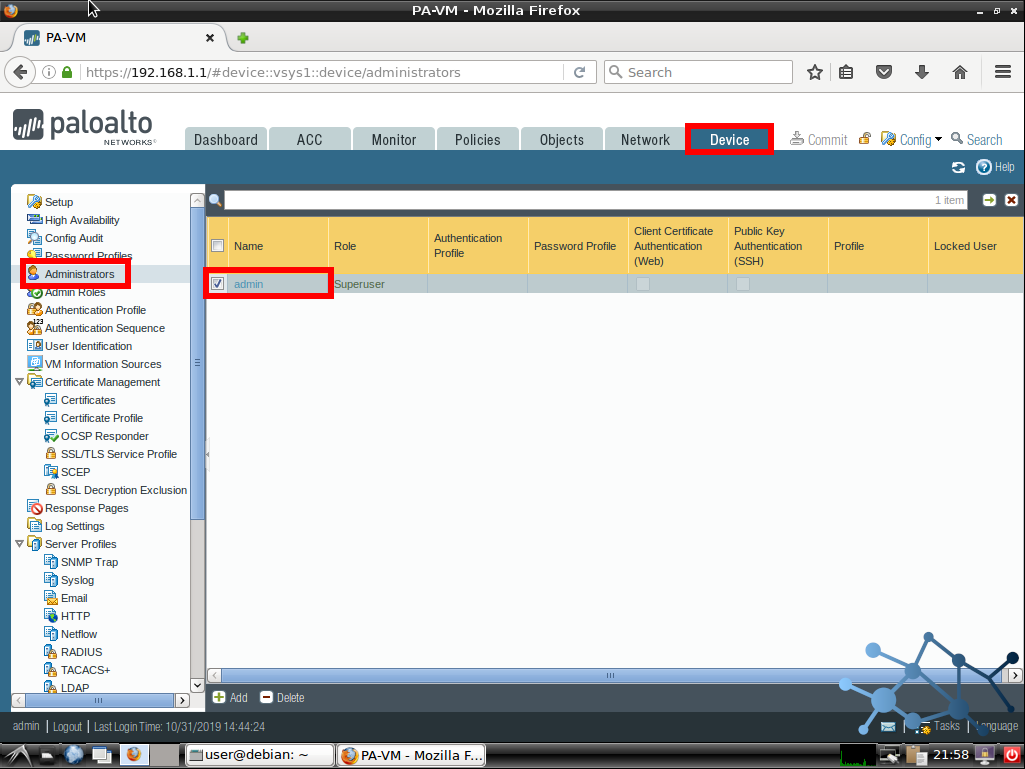
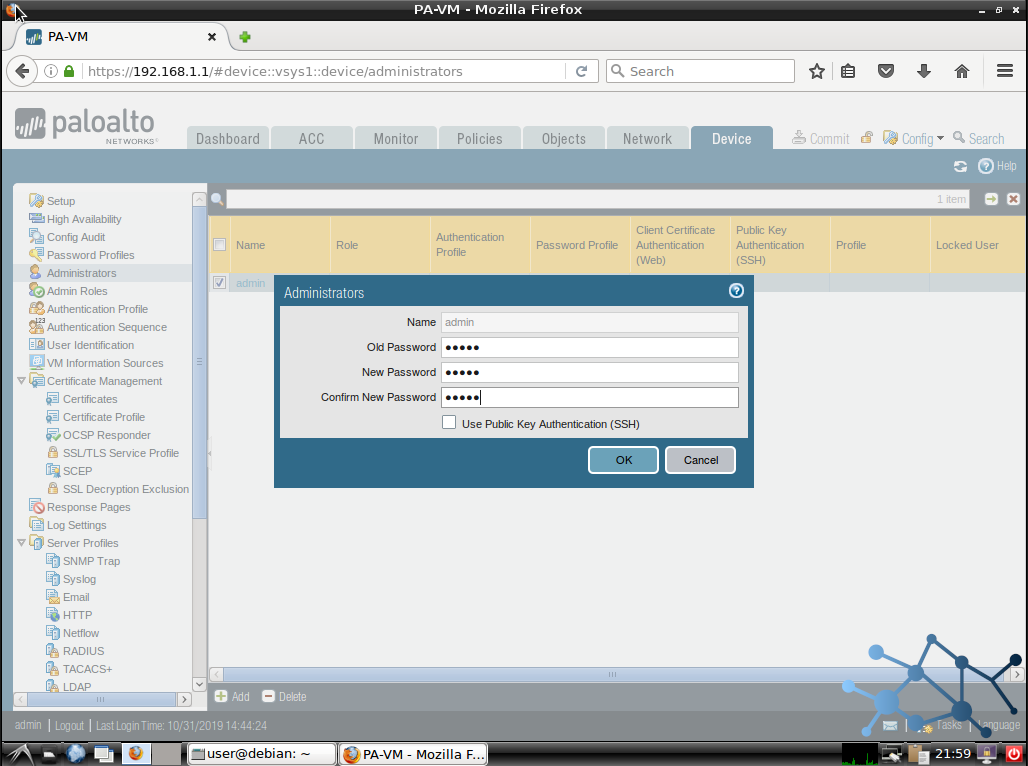
And from there, just like in any other system, we type in the old password -default one, and the new one twice. Then OK.
Configure a valid MGMT IP address and services
Now that we have connectivity and we have secured our login properly is time to setup an IP address that fits in our network devices management network scheme.
Let’s go to Device > Setup > Interfaces and then Management.
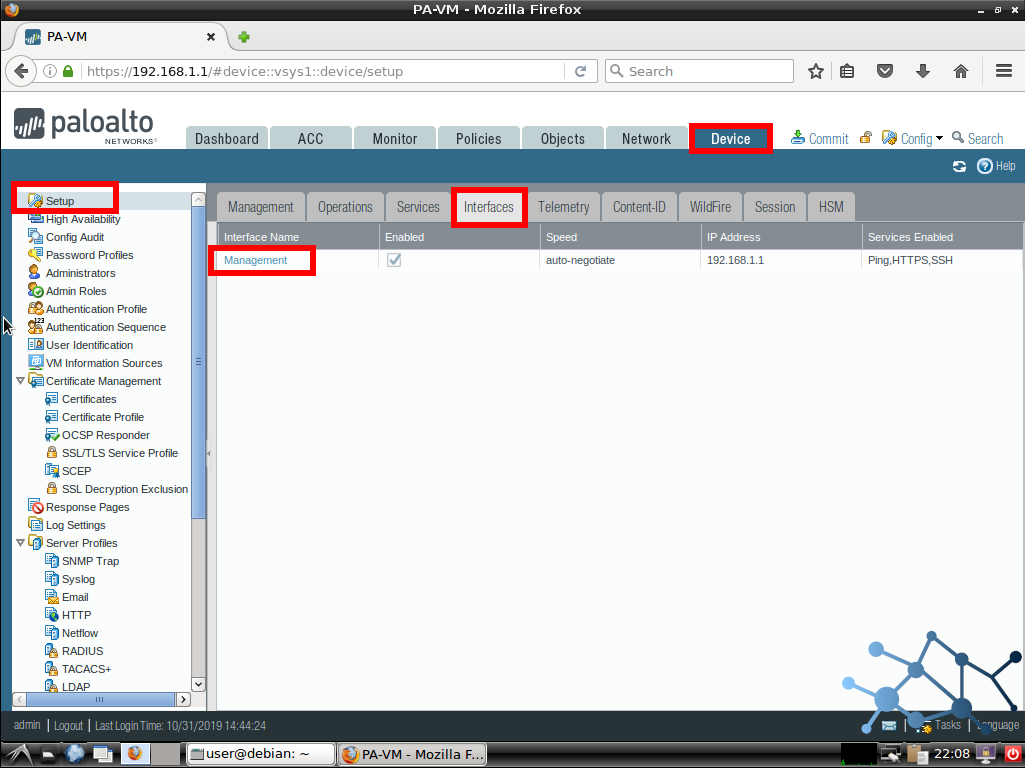
We will see a popup where we can fill in our information, including the TCP/IP settings , physical details and which services do we want to enable as management methods. We will also see a section to add p ermitted IP addresses for management. Meaning these will be the only allowed devices to connect to the MGMT port using the services we setup.
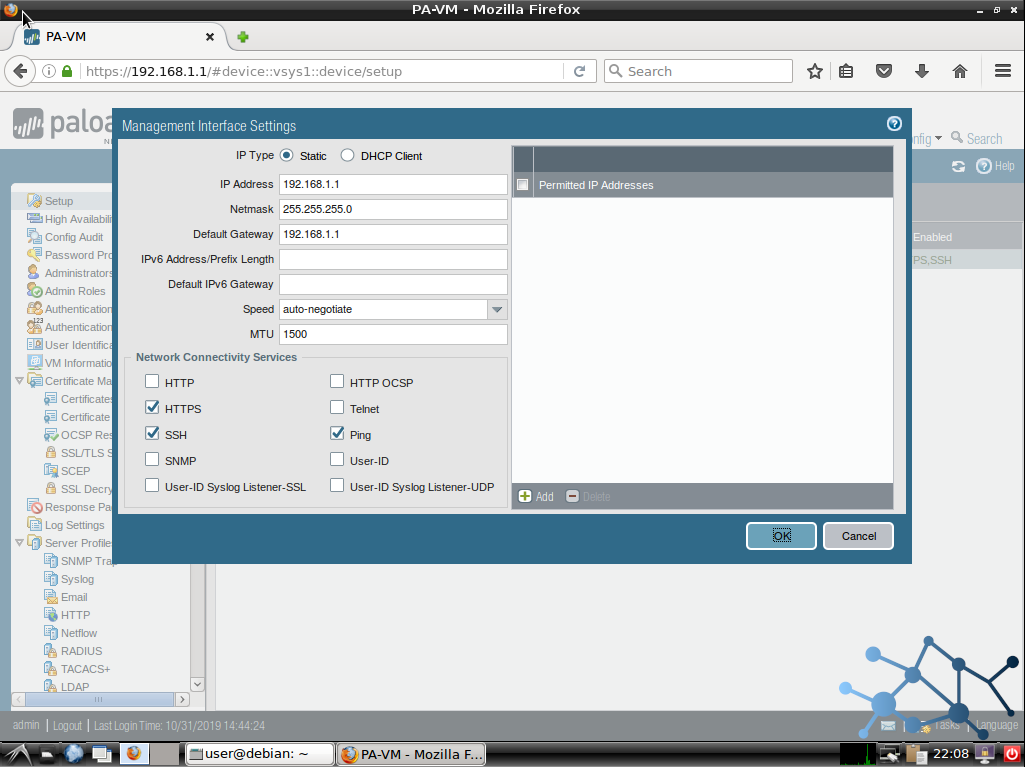
We have to Commit our changes to the Firewall configuration. Note that we will loose connectivity at this point, consider that changing the Firewall’s IP address will likely lock ourselves out of reachability, so we will have to fine tune and get connected back using an address in the same range the Firewall is now in.
Configure DNS and NTP settings
We assume we finished all the previous steps in this post. Time to configure NTP and DNS and get this baby connected to the Internet and ready to get registered, activated and updated.
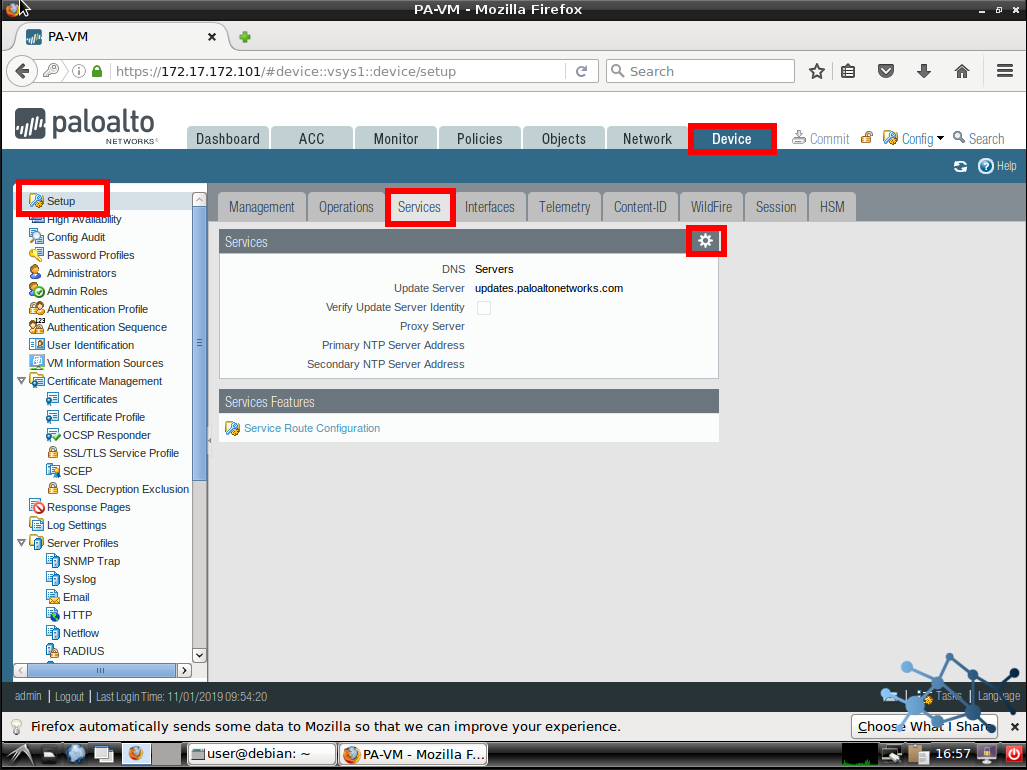
Let’s go to Device > Setup > Services. We click in the gear to get our popup and fill in our information.
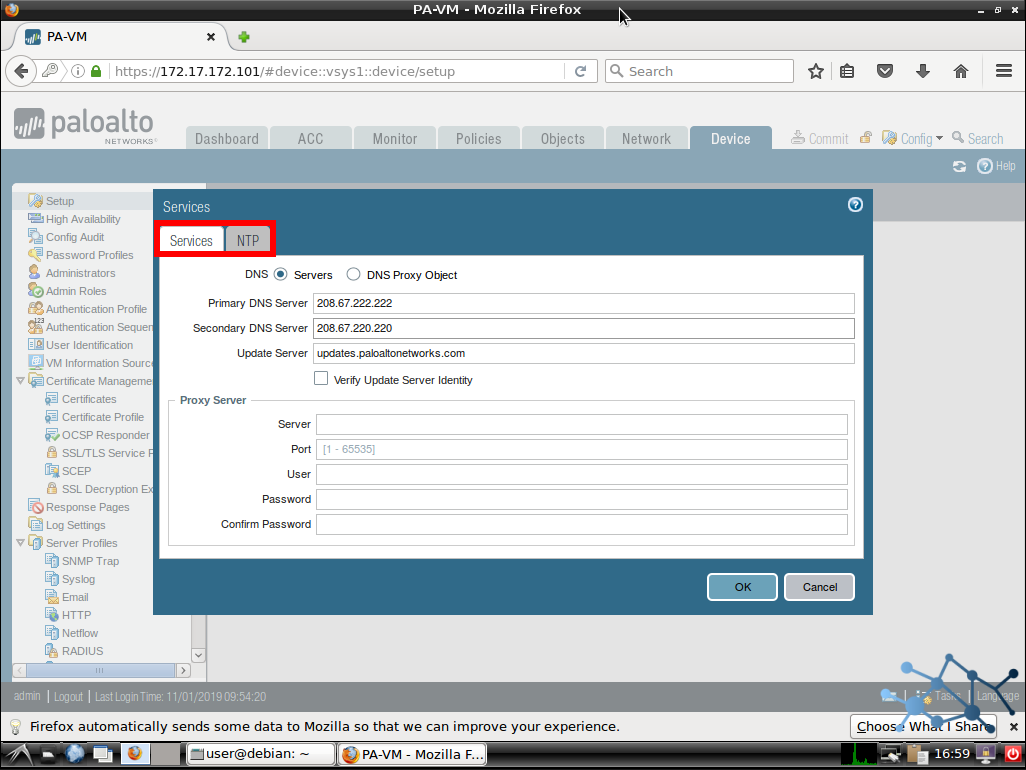
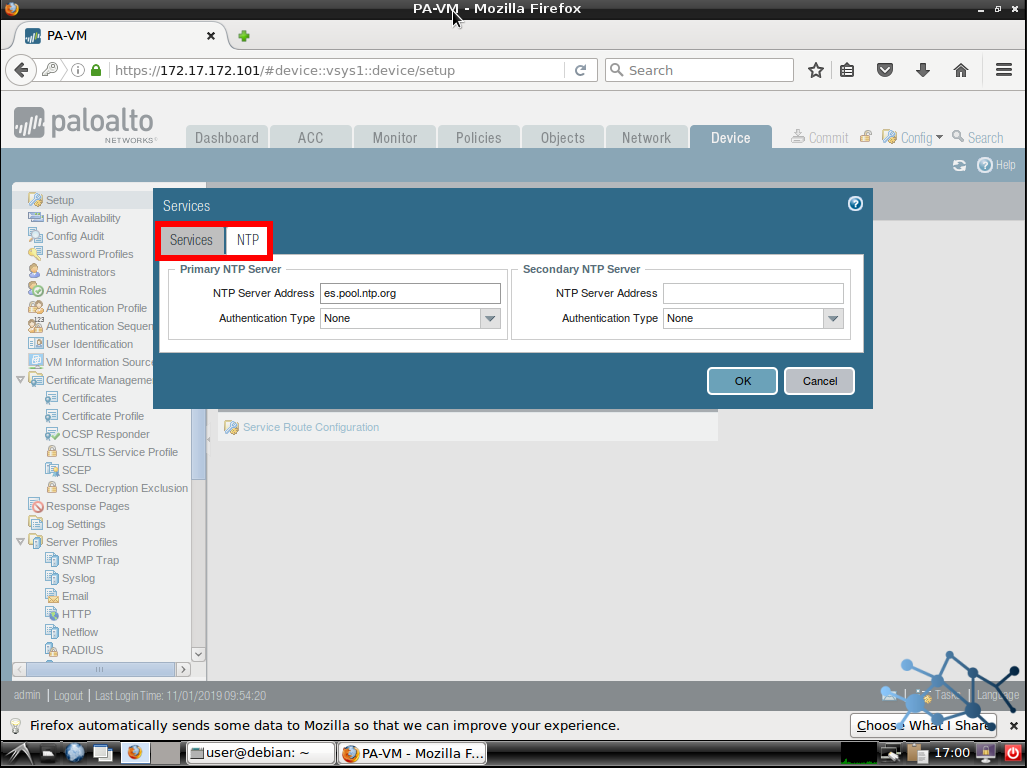
Commit and we are done here.

Register and activate Palo Alto NGN Firewall
We go to Dashboard > Widgets > System > General Information. Here we have to create our support account with Palo Alto Support.
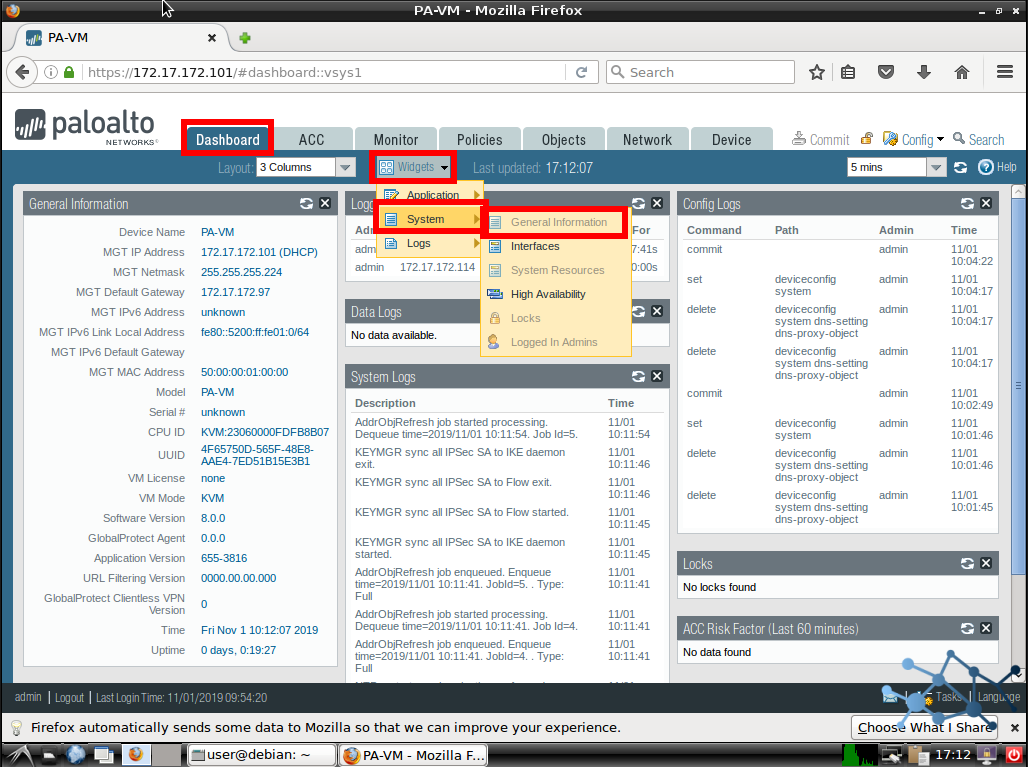
We go to https://support.paloaltonetworks.com and proceed to register our Firewall. We will be asked for the SO#, Customer ID, device SN and authorization code given by your PA Authorized Partner.
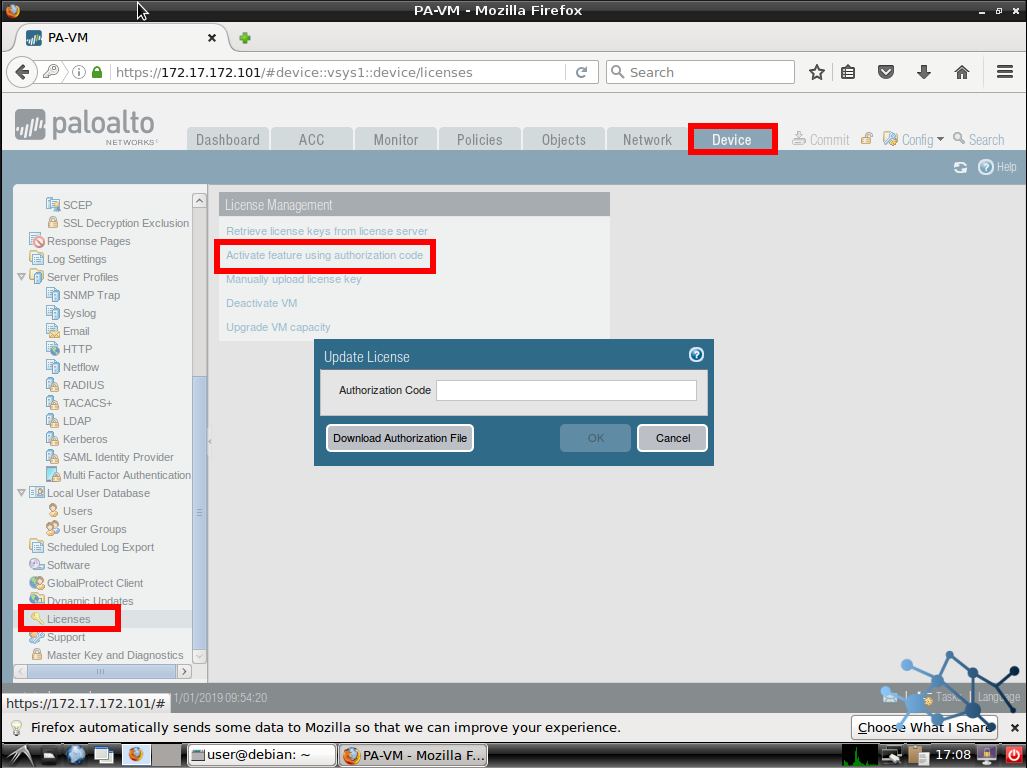
We activate our license in Device > License and Activate feature using authorization code. After filled in, click OK. Then we can check if the license was successfully activated.
Next posts will bring us some more information and tutorials for these babies.