Palo Alto NGN Firewalls – Setup internal DHCP server
One of the many services people uses to enable in the perimeter firewalls is the DHCP server. While I strongly disagree with this setup, I may understand why sometimes it is let’s say, allowed. When the company is too small, or we are commissioning a small branch, it may make sense to use the firewall as a DHCP server if it has this capability. Again, I do not recommend this setup at all, but being a Palo Alto NGN firewall feature, let’s see how to configure it.
We will be using the following topology:
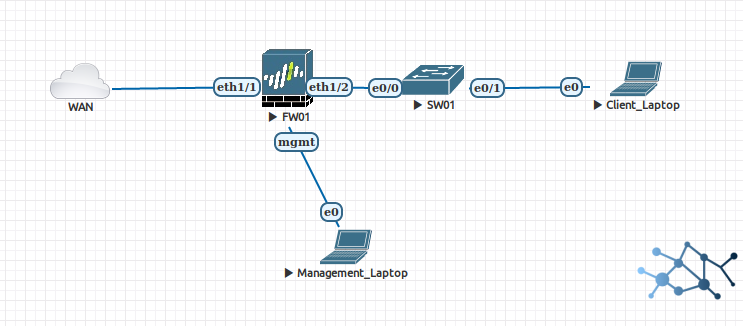
Subnet connected to interface eth1/2 of FW01 will be the subnet using the DHCP server, so the layout depicts a plain layer 2 network for our inside hosts. We will also assume that the subnet is 192.168.1.0/24 and we will configure our DHCP accordingly.
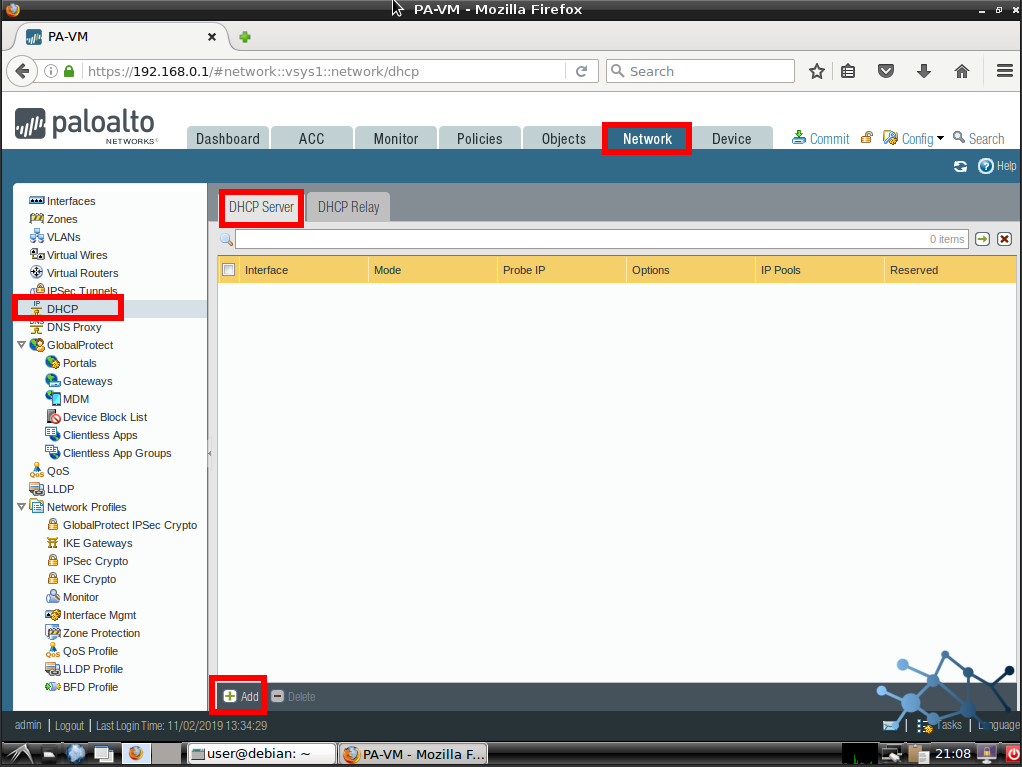
First we go to Network > DHCP > DHCP Server. Here we click Add to get our usual popup.
Then we configure the interface that will connect to the network with the DHCP clients using the pull-down menu. We will only see enabled interfaces.
Then we add the pool or pools we want enabled on this interface. For our example we will be using a single pool in VLSM format.
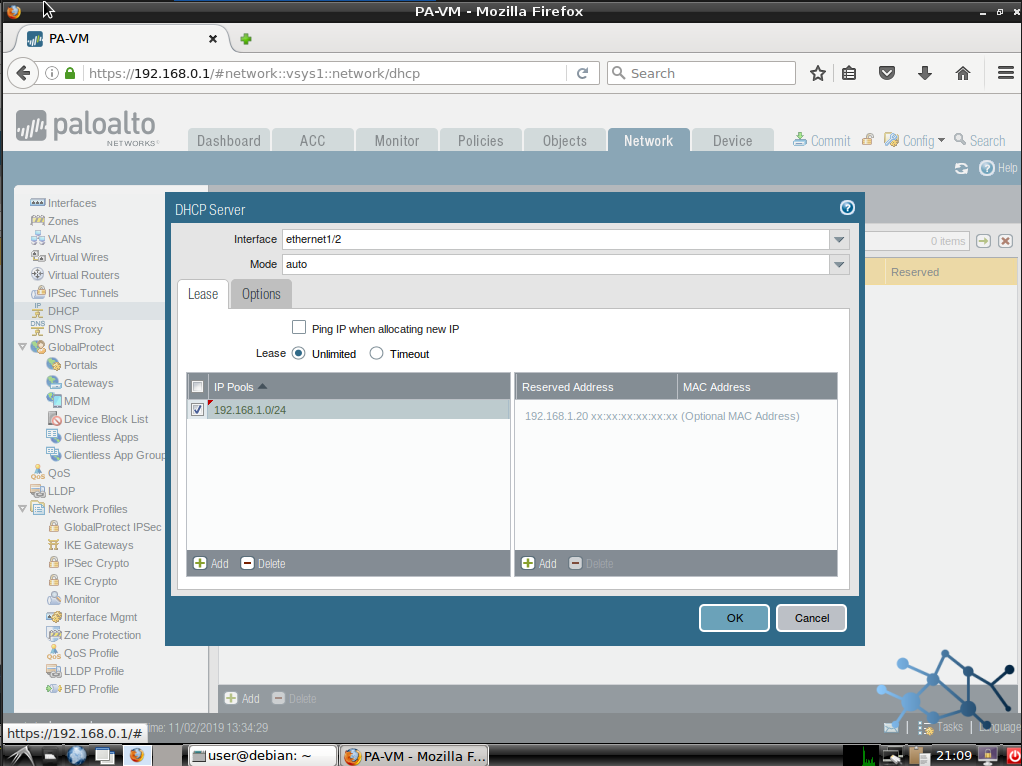
We can also condigure some static reservations but we will not do it now. This is a common configuration for every DHCP server out there, just pick an IP address, bind it to the MAC address of the client we want to lease and that’s it.
Now we go to Options, and we configure the common parameters, such as gateway, DNS servers, WINS, NTP…
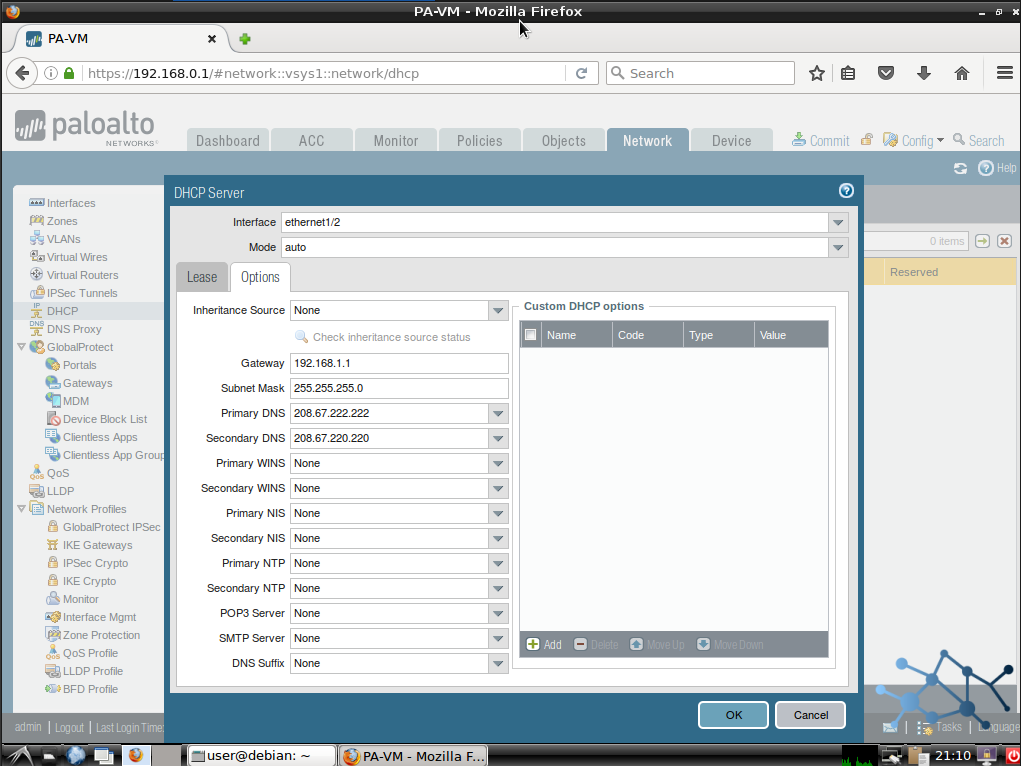
We can also configure not-so-common options using the Custom DHCP Options tab. Things like TFTP server, option 82, and many more can be configured here. Not our case now.
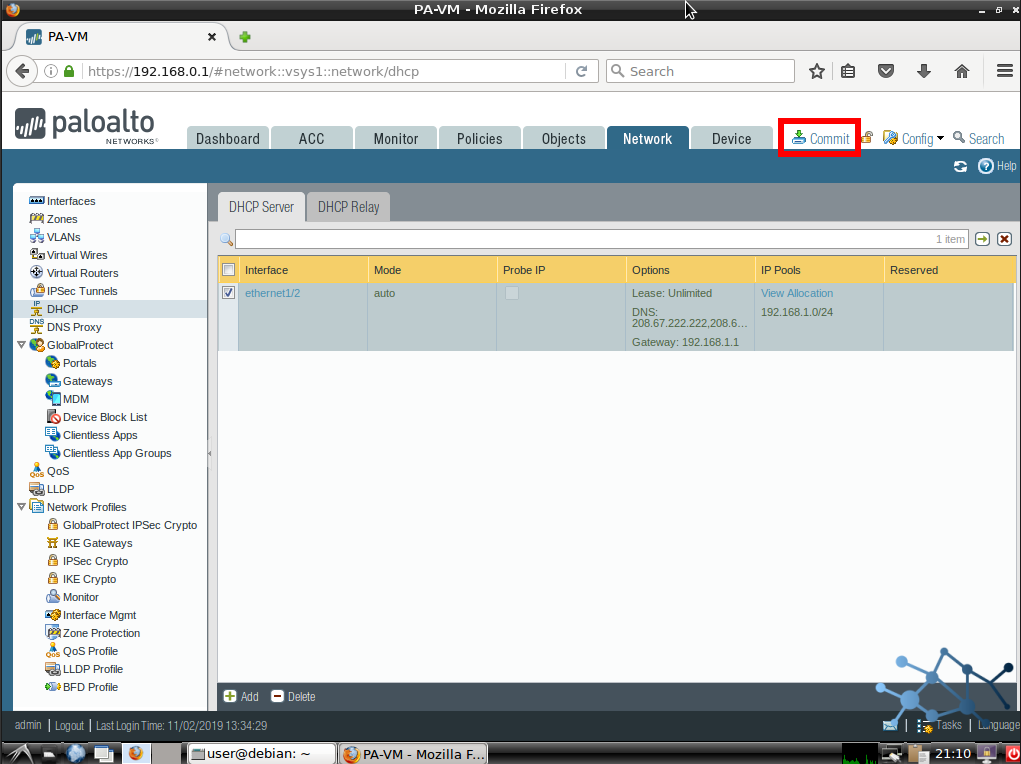
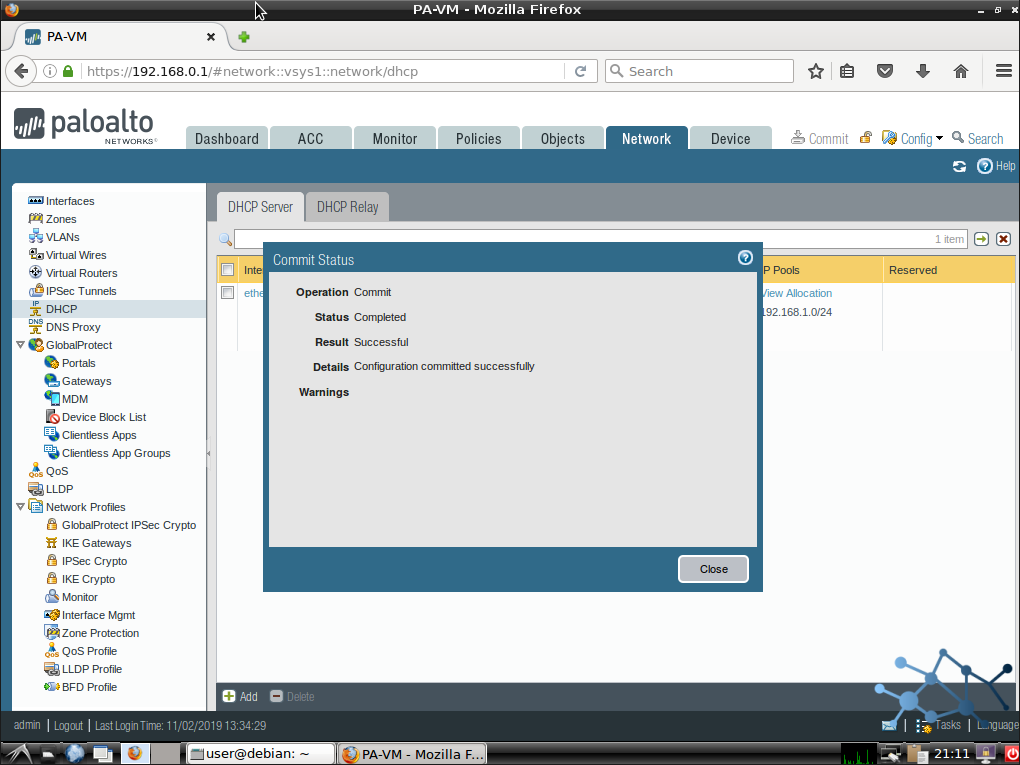
Once finished, commit.
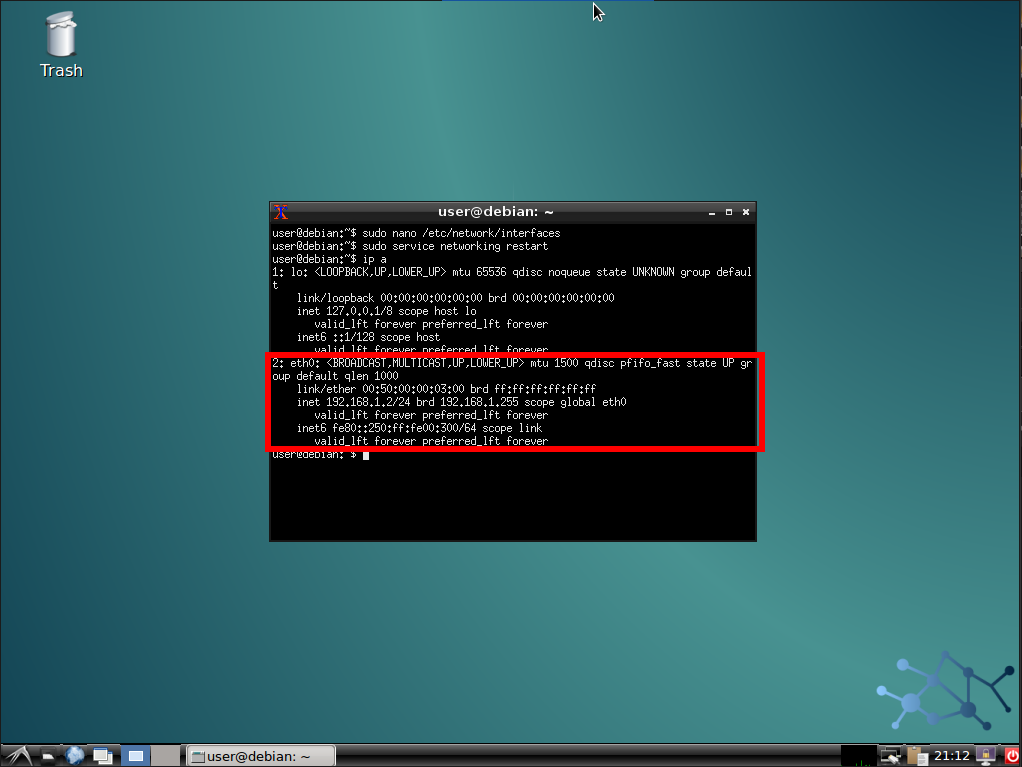
We will have our fully functional DHCP server. Verify our clients can get an IP address:
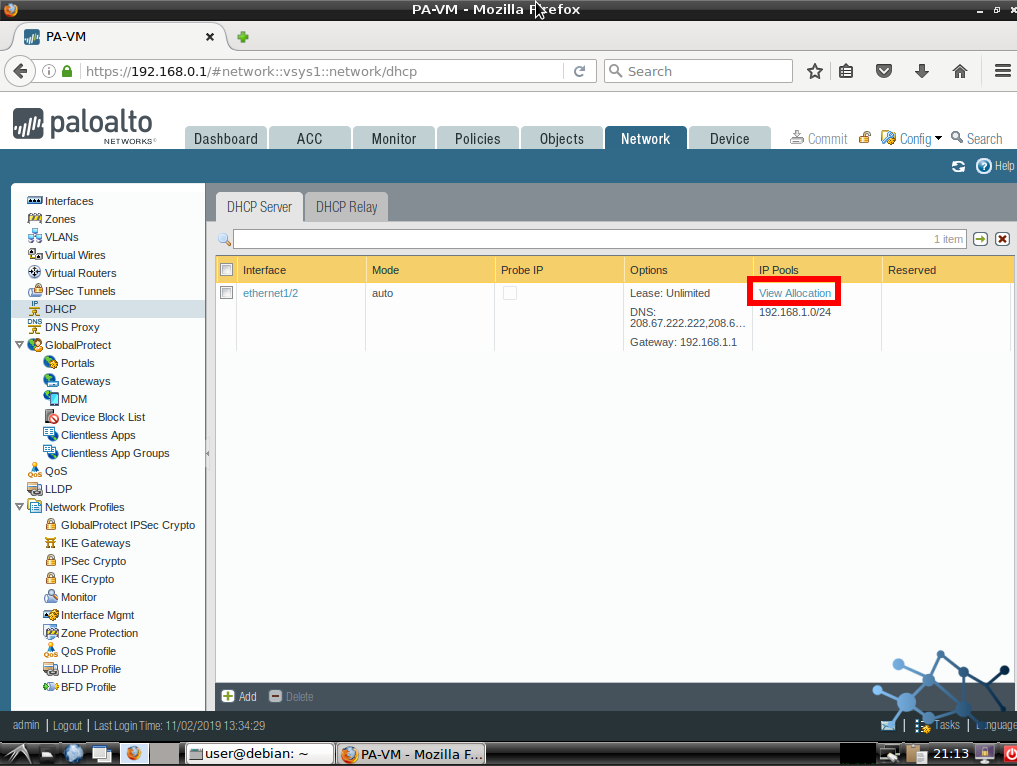
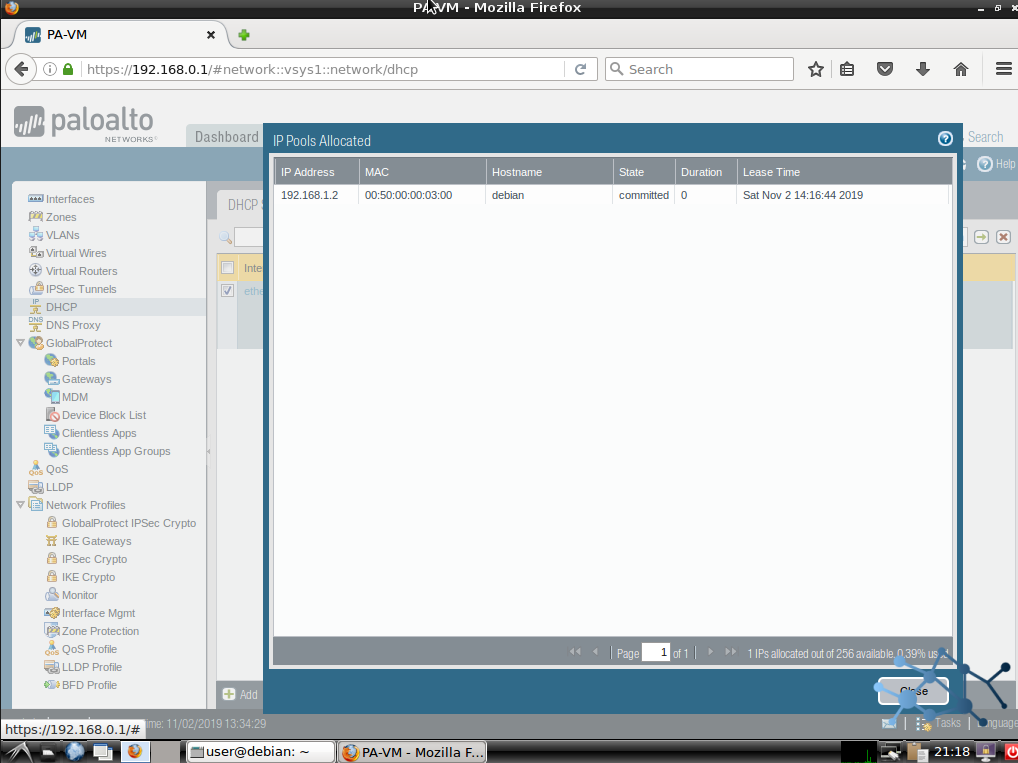
And let’s see the lease in the PA WebUI:
Find below a video demo: